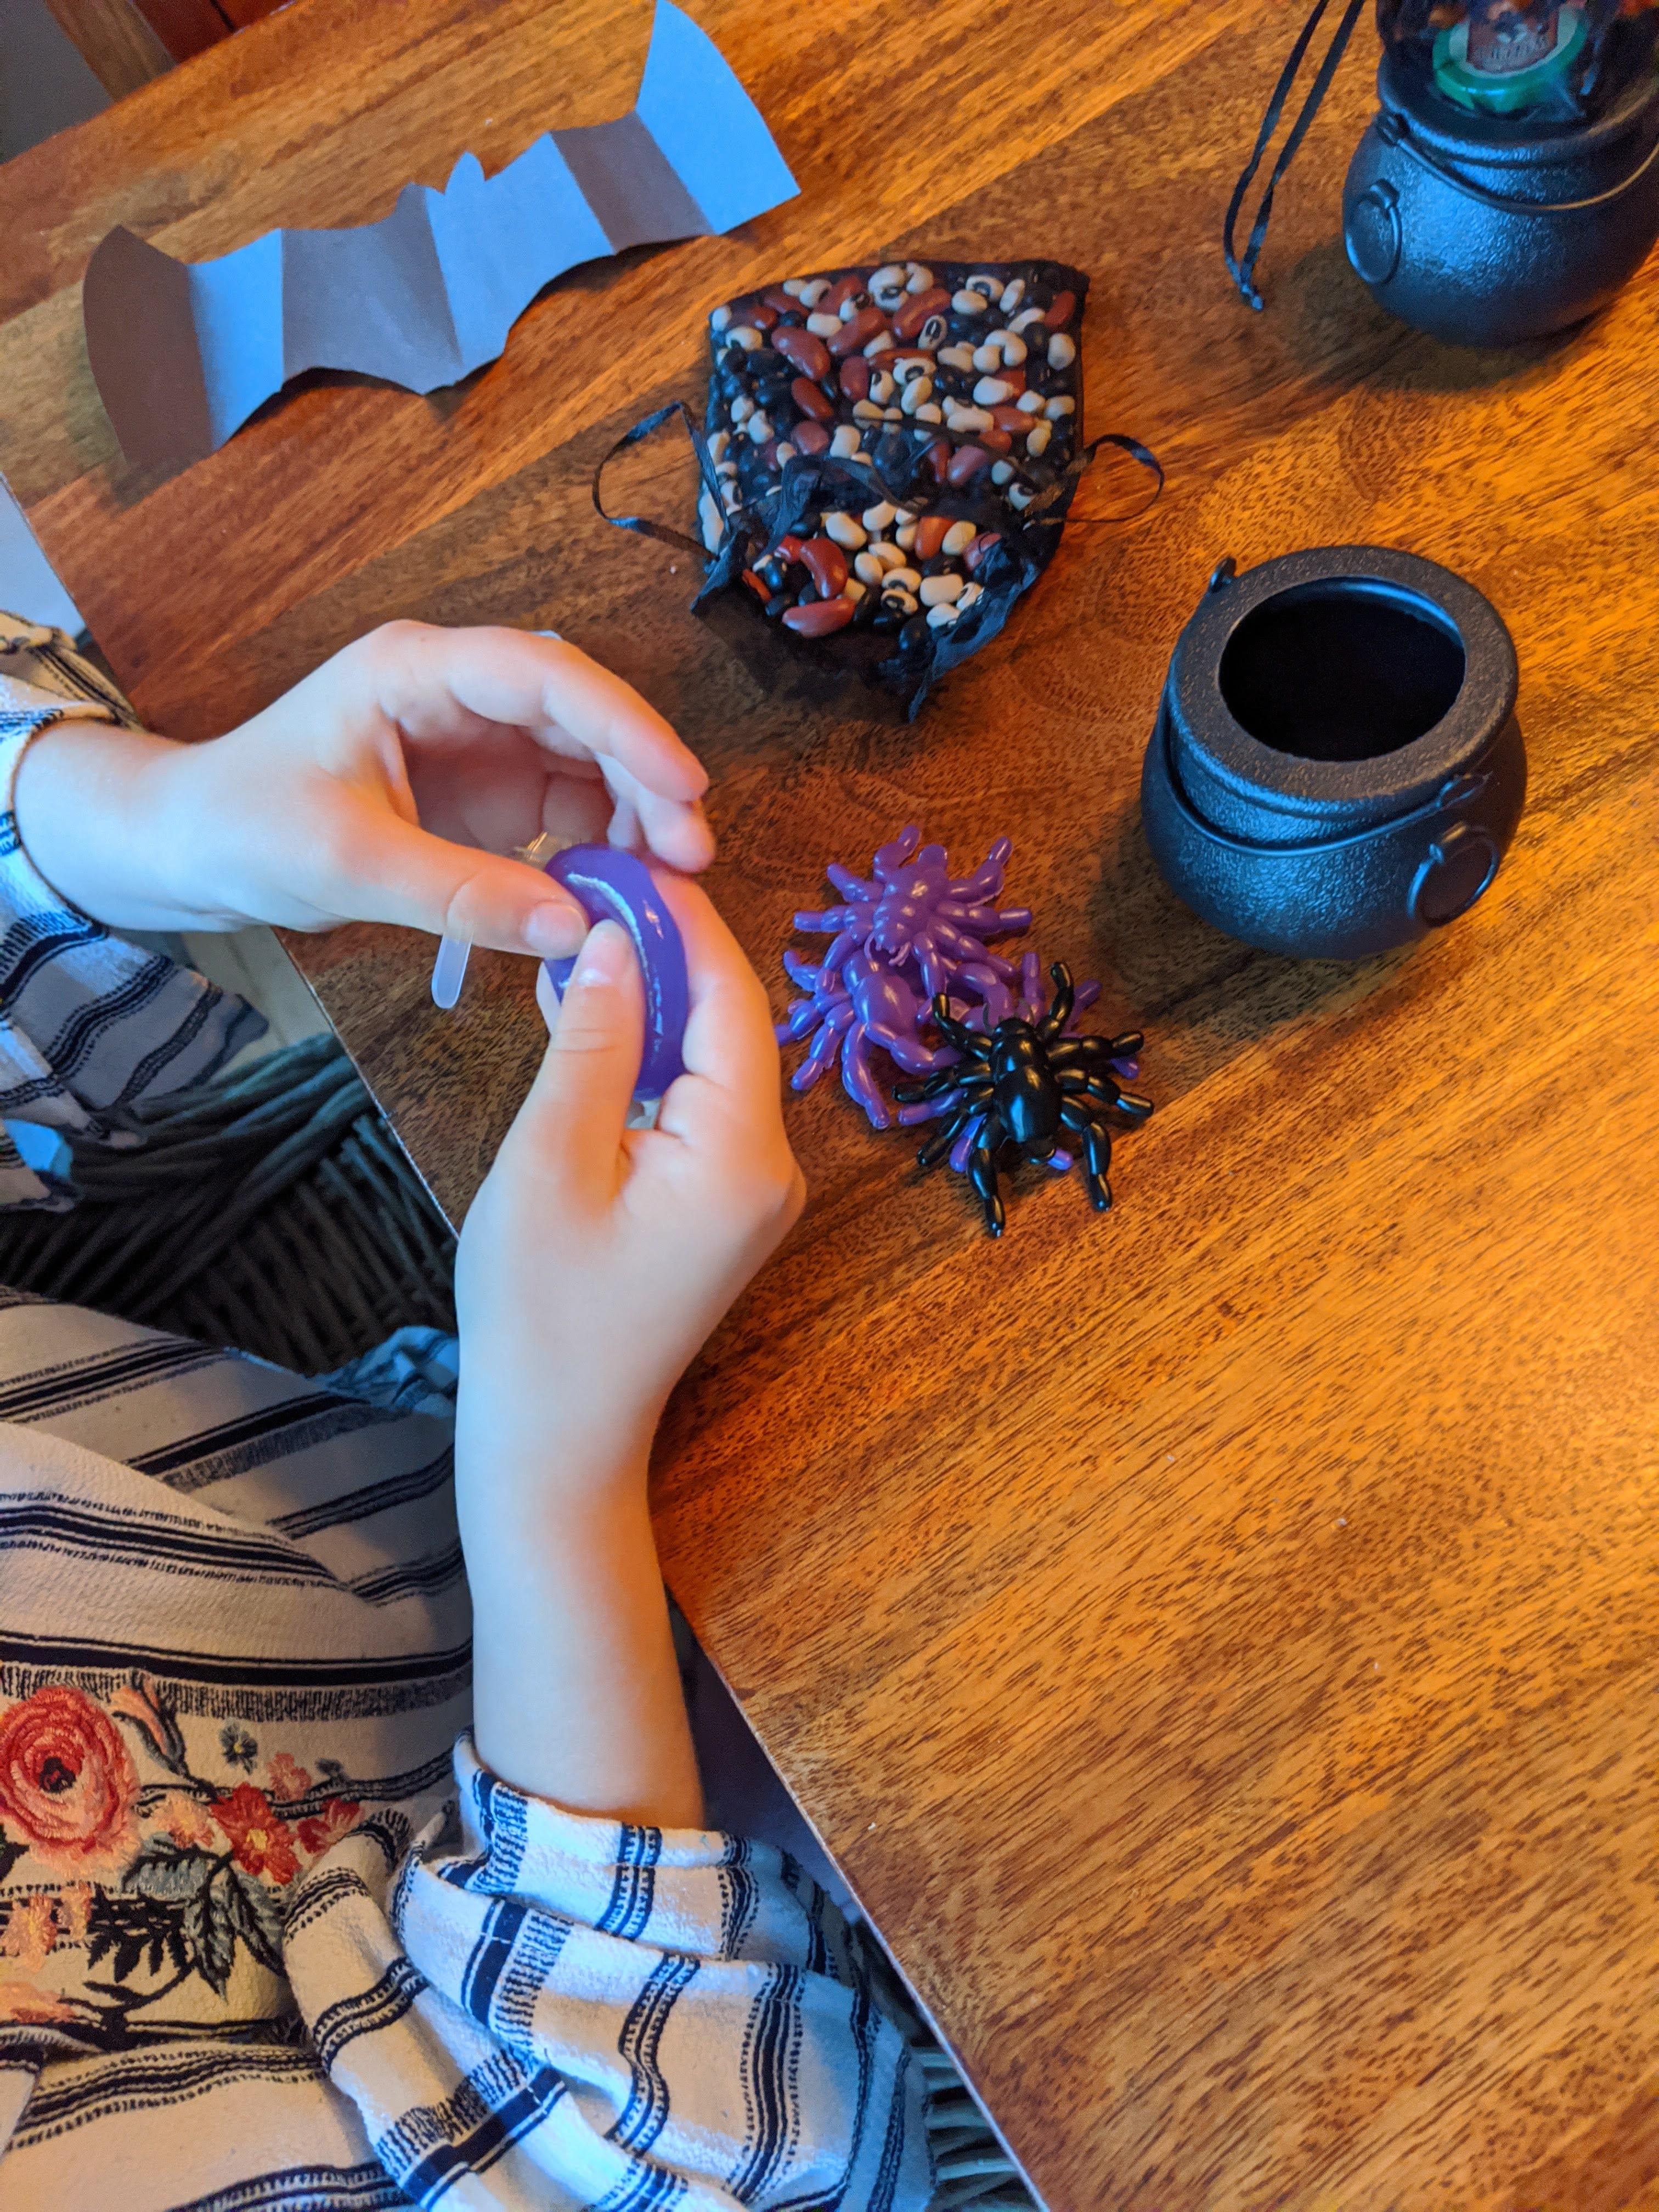
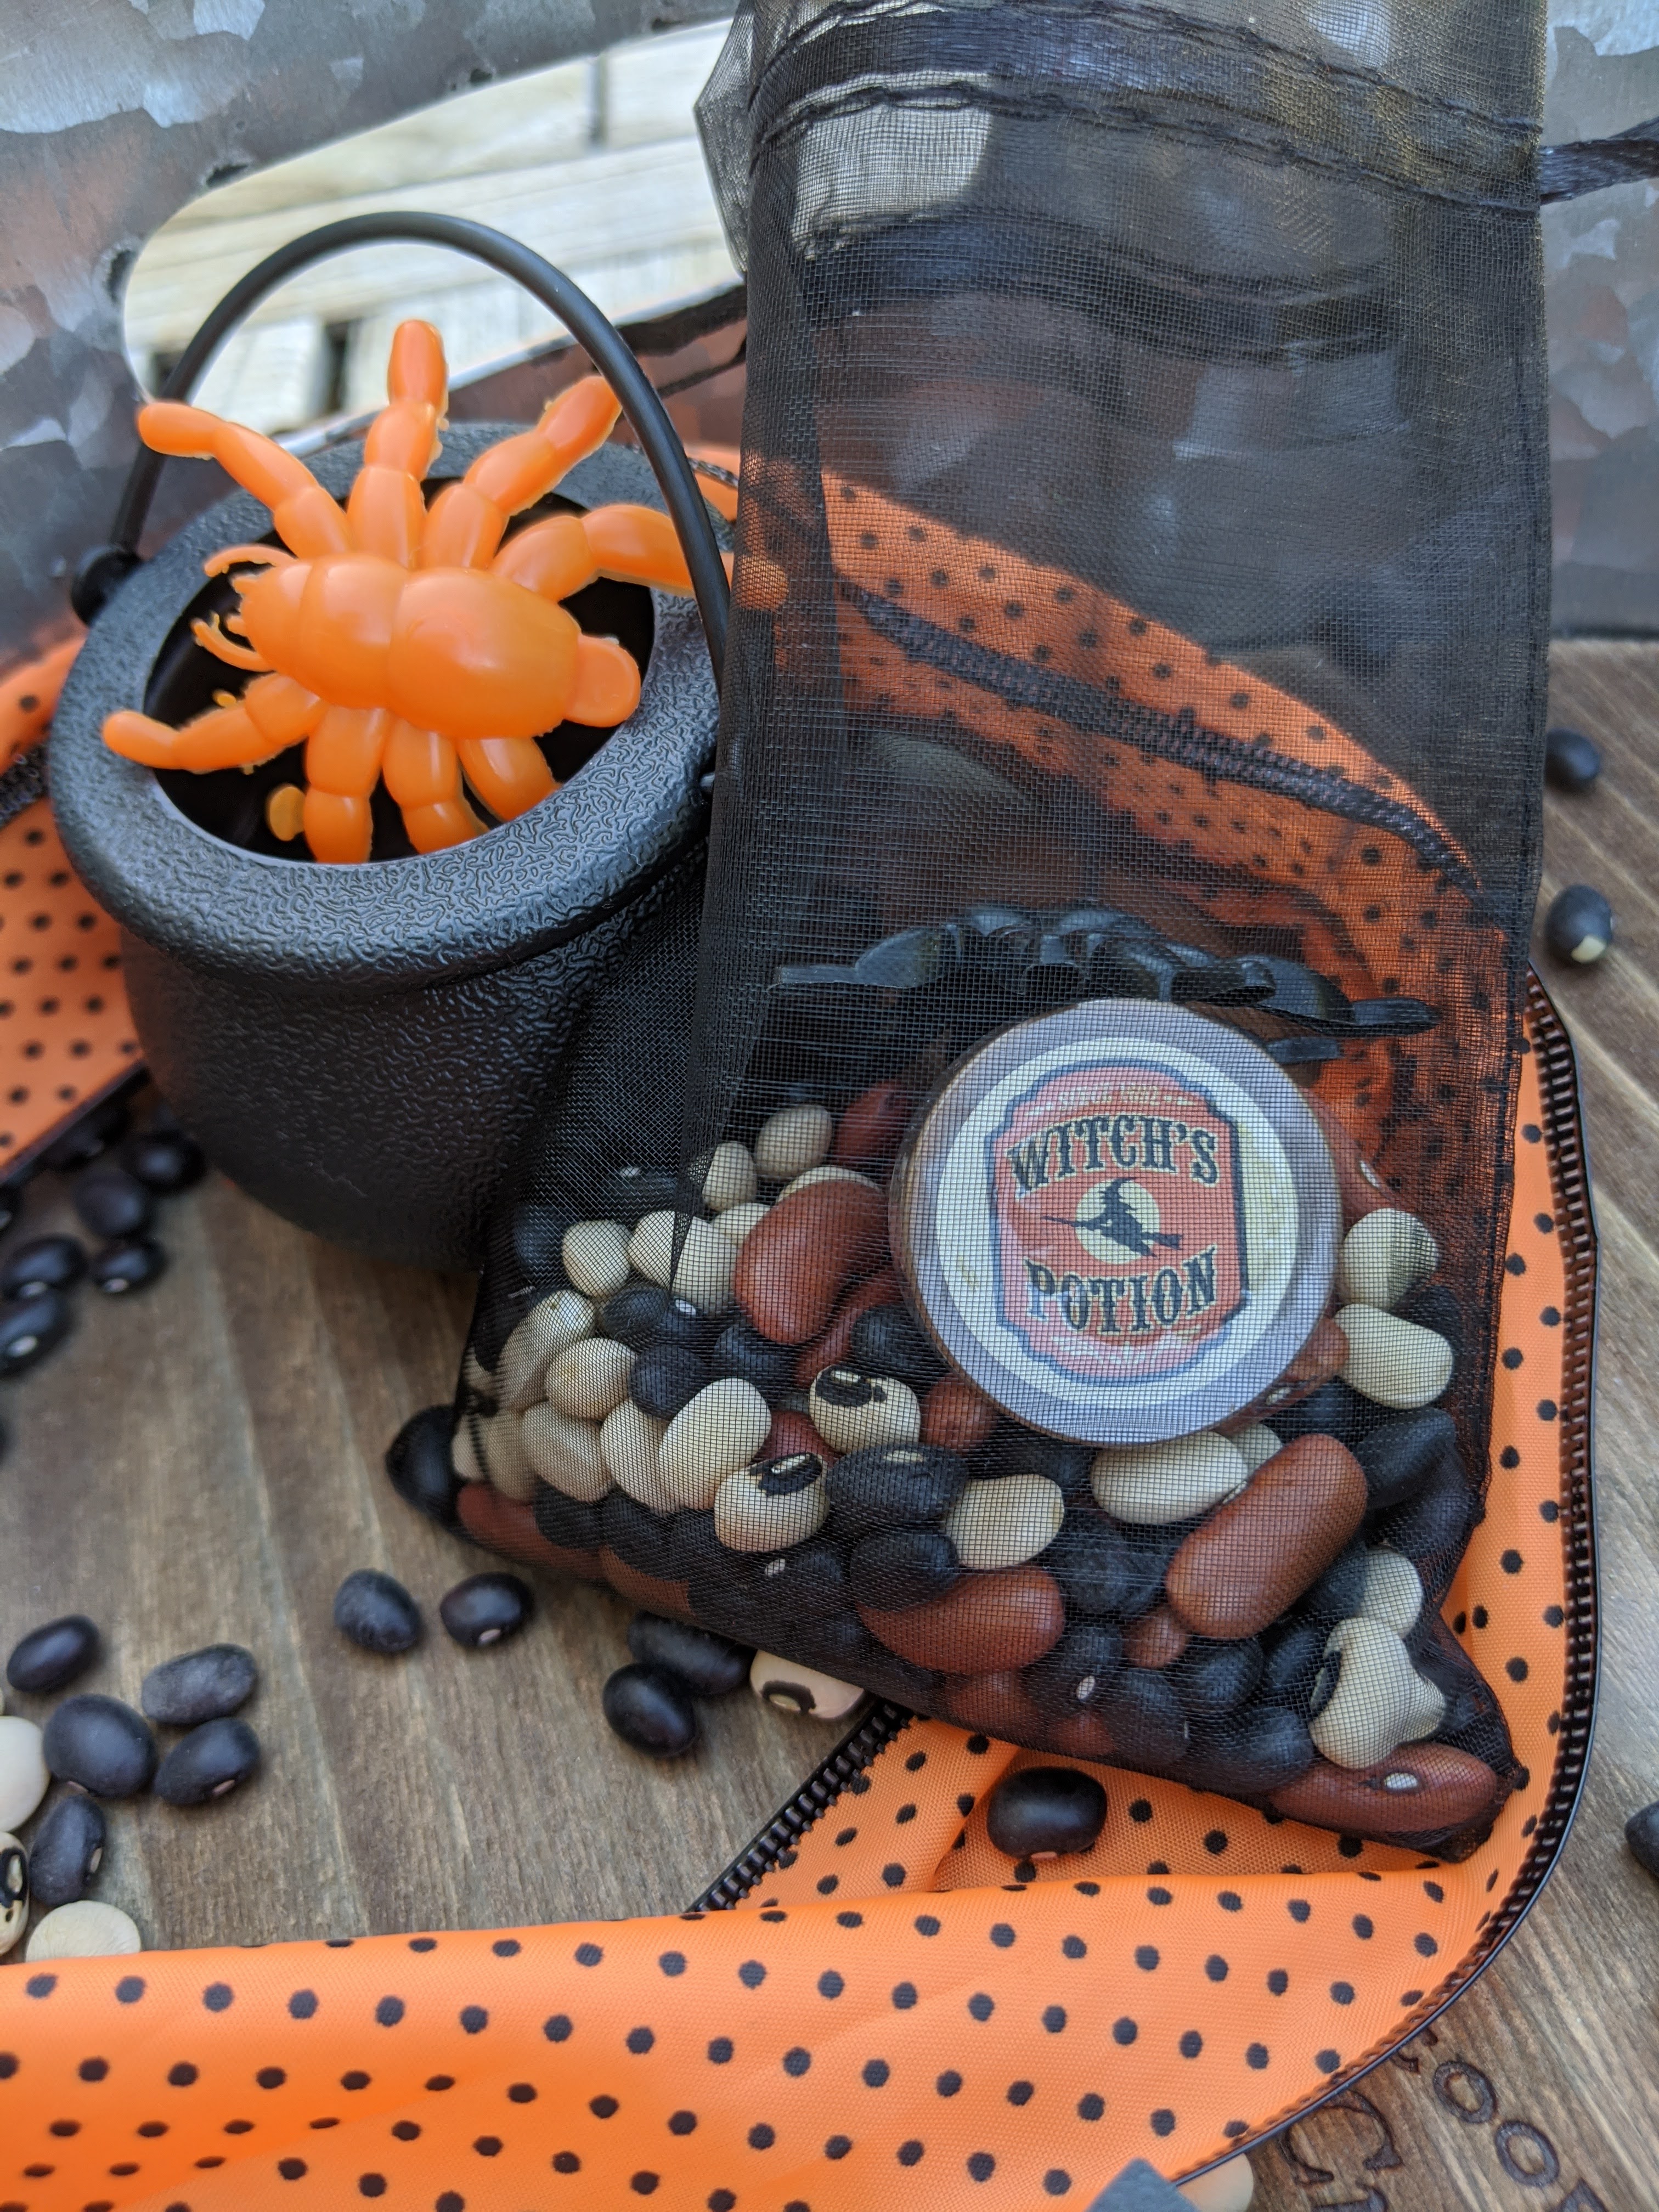
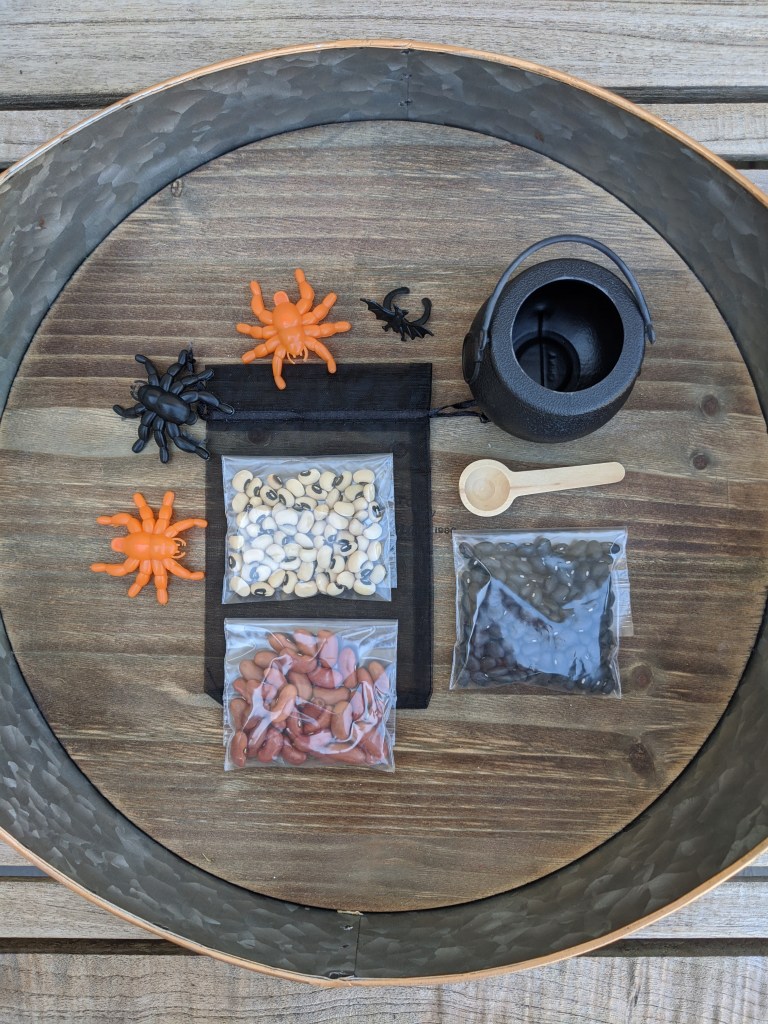
These adorable mini sensory kits are perfect for handing out to friends or just enjoying at home. When Halloween is so uncertain this year and kids might not be able to go get treats from neighbors, it is nice to have something for little ones to look forward to. I created these little kits with the intention of a having a guaranteed special “treat” waiting for them on Halloween.
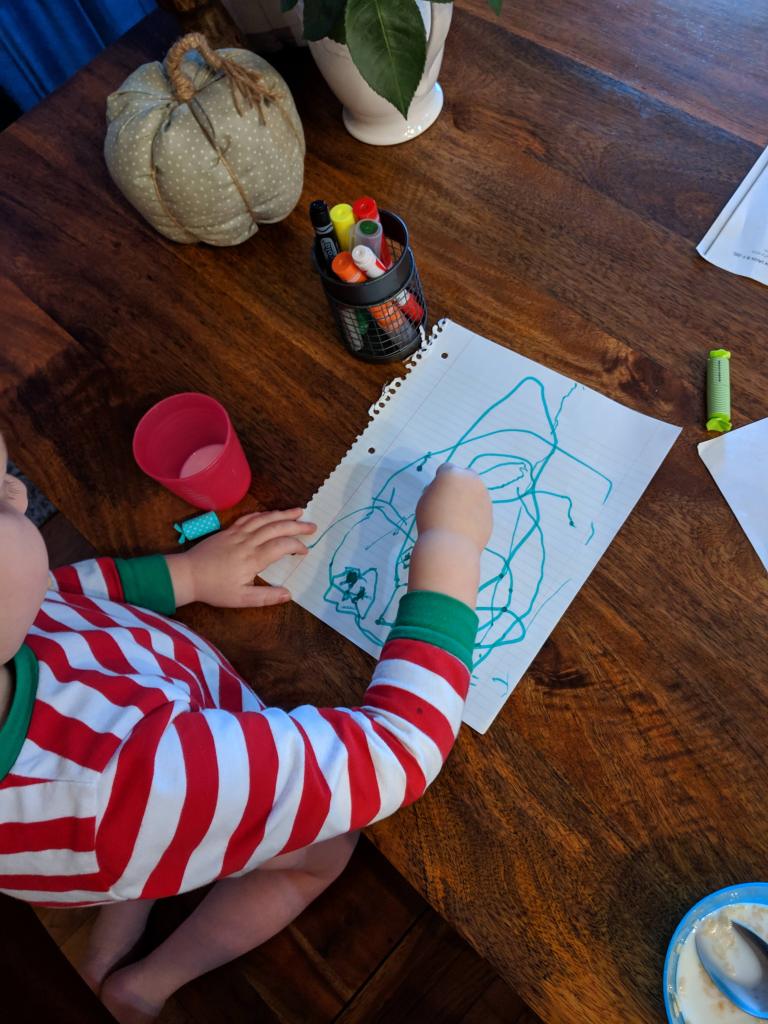
These kits are great for sensory, open-ended play. With open-ended play, kids can really flex their creative muscles. They are also able to develop fine/gross motor skills. They are easy to put together with my supply list and a great gift idea to any little ones in your life!
You can store all the sensory materials in the mess bag or in the cauldron and reuse! Put together with either the beans or the slime. If you do mix the two together, make sure to separate later or check the beans before use, because they can go bad when the slime it allowed to be left on the surface of the beans. You can keep the beans separate by putting them in clear baggies or between the mess bag and cauldron; it depends on your personality and your kids’ personalities. They can mix, practice scooping with the wooden scooper or slime container, squeeze the slime between their fingers, and play. Their minds will be engaged and happy!
Check my Instagram @heathersmithcreates for more open-ended sensory and process play!
Watercolor can be so frustrating at times, so I’ve compiled a few tips.
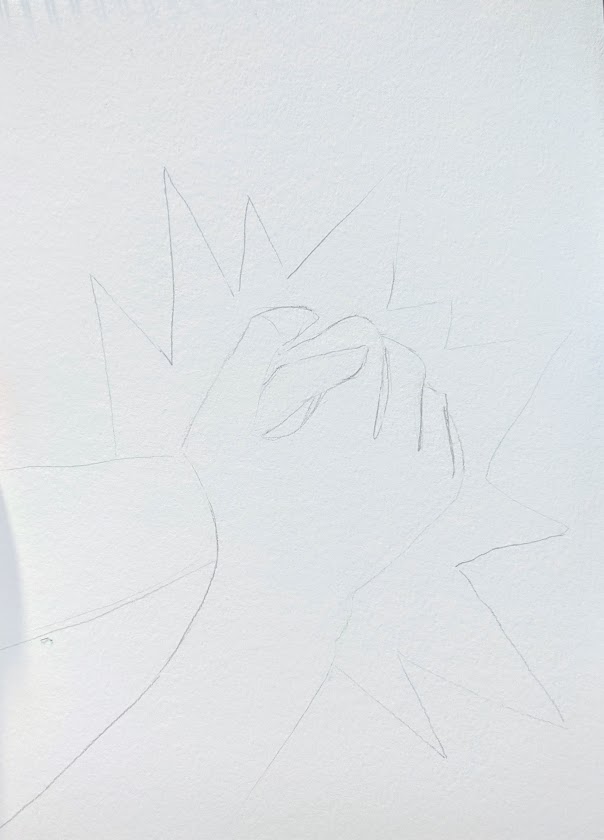
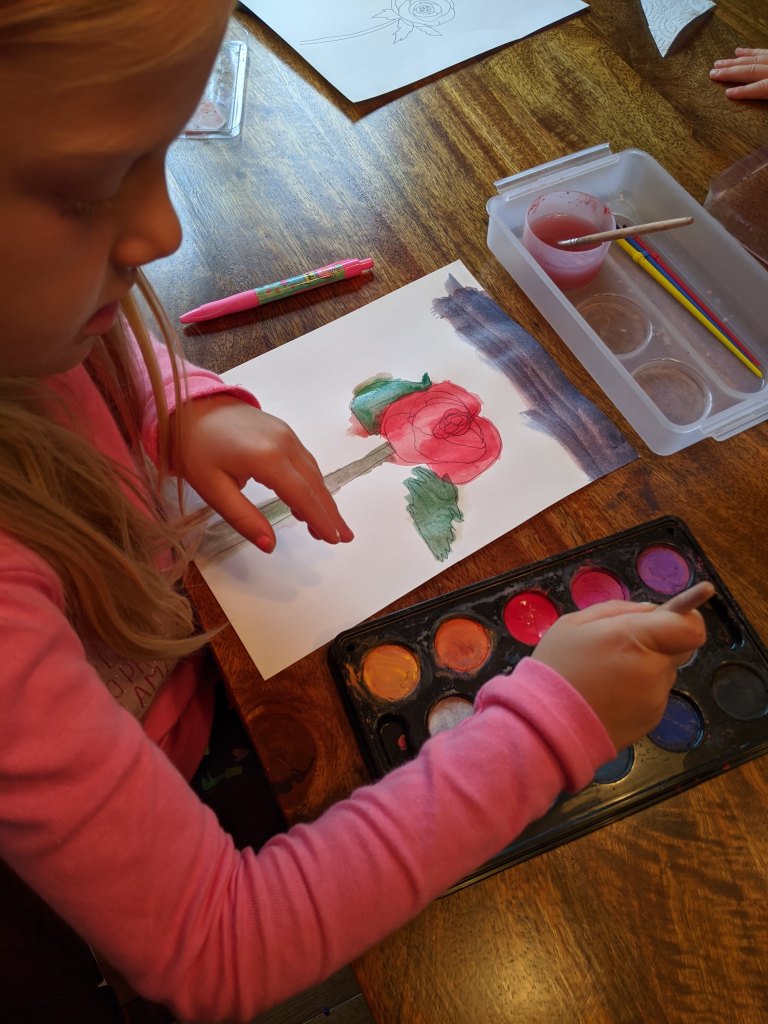
Start with a good sketch.
I heard once that the better the sketch the better the painting will turn out. I like to sketch to plan out the composition, before drawing on the watercolor paper. Doing lots of erasing can hurt your paper before you start painting.
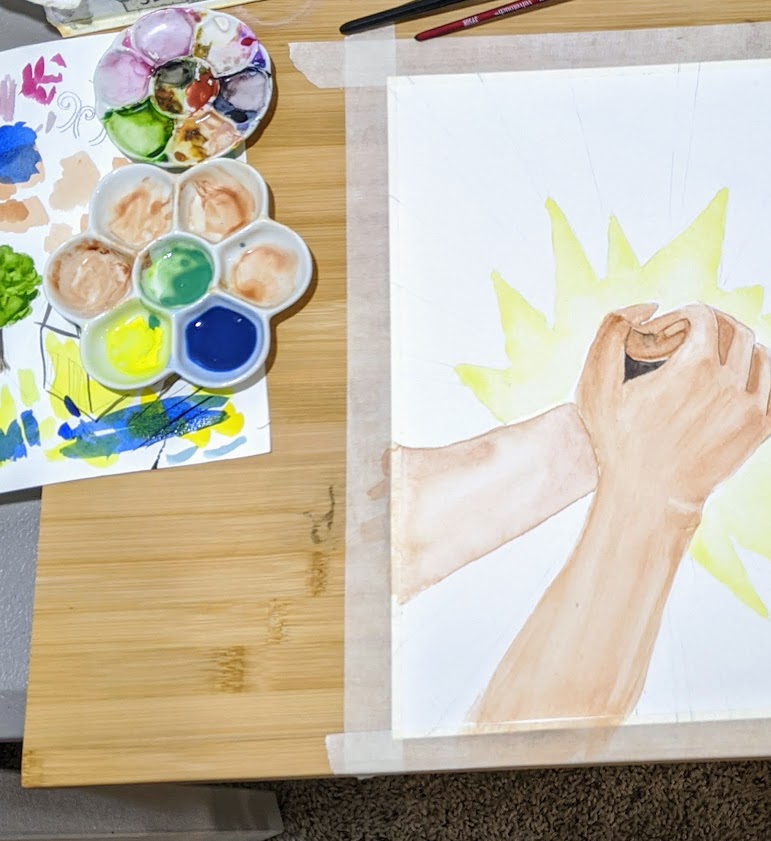
Mix enough color all at once.
Mix plenty of the pigment so you don’t run out of the color halfway through your painting. It can be hard to match the same color when you run out. When you have all the color mixed, it is easier to work quickly and get a nice even wash, which is easier when you can do a wash all at once (before portions of it dry).
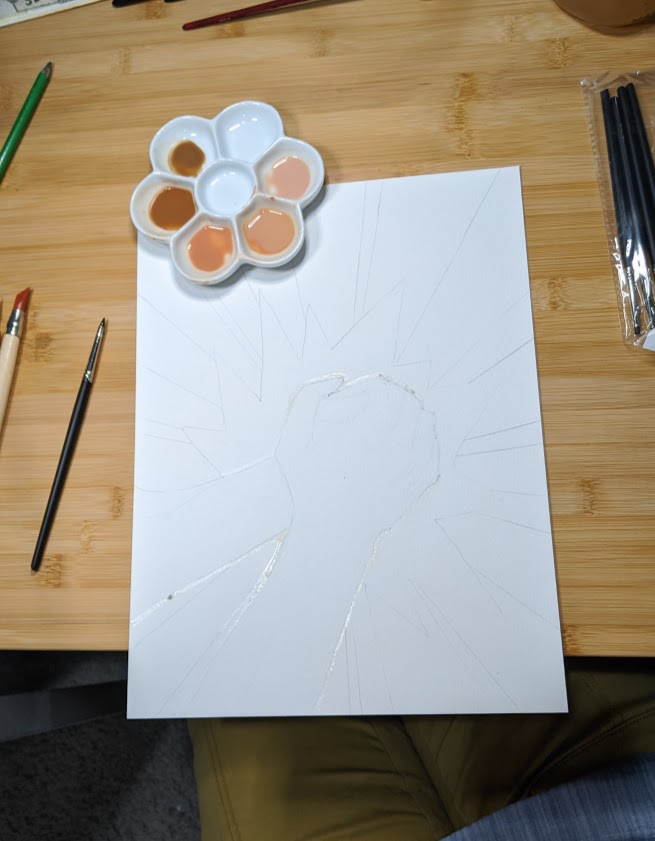
Test out your colors.
Use a piece of scrap watercolor paper to see what the color looks like before putting it down permanently.
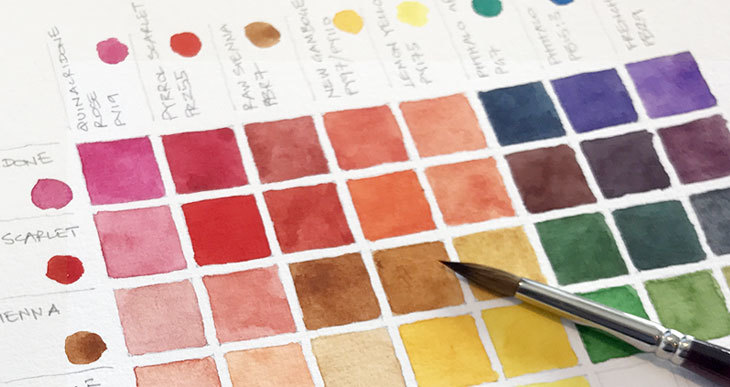
Create a reference color sheet.
Artists often make a swatch card of their watercolor pigments so they can see how their colors on paper will look (also to see how they dry-watercolor dries a bit lighter). Artists also create a reference guide to see how combinations of colors look as well. This is useful for a reference for color mixing and recreating colors. This way you can see how mixing a variety of colors will look like. This can make planning your composition easier.
Image from Watercolor Affair and more about how to create a color mixing guide here.
Use heavy weight paper.
You will like the result better and it can take on more heavy washes. You can look at my post about watercolor papers for more information about this.
Start painting!
This is a just a few tips to start you off to feeling successful with watercolor. I hope you feel more confident and happy with your projects with these tips!
If you have questions about watercolor or supplies put it in the comments. Also, share what you’ve been working on and if the post was helpful!
There are a few things to consider: the quality of paper, the gsm count(which is another way to weigh the paper), and deciding between Cold/Hot/Rough Press. What will work best will ultimately be preference, but higher quality watercolor paper is usually less frustrating because the paper doesn’t break down or warp as easily.
First of all, look for the paper that is categorized for watercolor, it is designed to handle the amount of water that watercolor requires. Most of the watercolor paper available at hobby stores are not 100% cotton, but good for practicing. 100% cotton paper can handle more scrubbing to take up color and washes. It is also the highest quality and will keep your preserve your artwork better. To understand the quality of the paper, one should look into what the paper is made off. They can be made of wood pulp or a mix of wood pulp and cotton fibers, up to 100% cotton paper.
GSM is grams per square inch. Paper is usually labeled in pounds and gsm. 140# is 300 gsm. 140# paper is a good weight to start with, because it can absorb more water and will not disintegrate easily when painting. The use of Cold or Hot press papers is up to preference as well. Cold press is rougher and Hot press is slicker. Cold press can show texture and rough paper will bring luminosity to the paper because of the way the watercolor dries. On Hot press paper the watercolor will move around easier. For more information, Thaneeya McArdle has a very detailed blog post about student/professional grade and lots more that helped me write this post.
Paper Study
I compared a couple popular, beginner brands of watercolor/mixed media paper to see what the differences are and to help you decide which paper would fit your needs best. Even though most of technically student grade, I have been painting and practicing for more than 7 years and I still some of these. There are so many more options out there and brands have higher or lower qualities.
This brand is good for practicing, it holds together and the watercolor moves like it would on other cold press student-grade paper, but the texture tends to distract. If you look closely you can see a squarish repeating pattern in the blue watercolor.
Canson brand 90 lb, 185 gsm Mixed Media, Rough
Canson brand 90 lb, 185 gsm Mixed Media, Rough
This is also a student grade paper and not specifically for watercolor. I bought it to practice with acrylic. I decided to see how it would last with watercolor. I used the smoother side of this paper; this might show what a hot press paper of lower weight might look with watercolor. On this paper you can see the brush strokes are more visible, other than that, it seems to move well on the paper. I’ve found that 90 lb paper is also fairly good for practice, but doesn’t hold up as well with water.
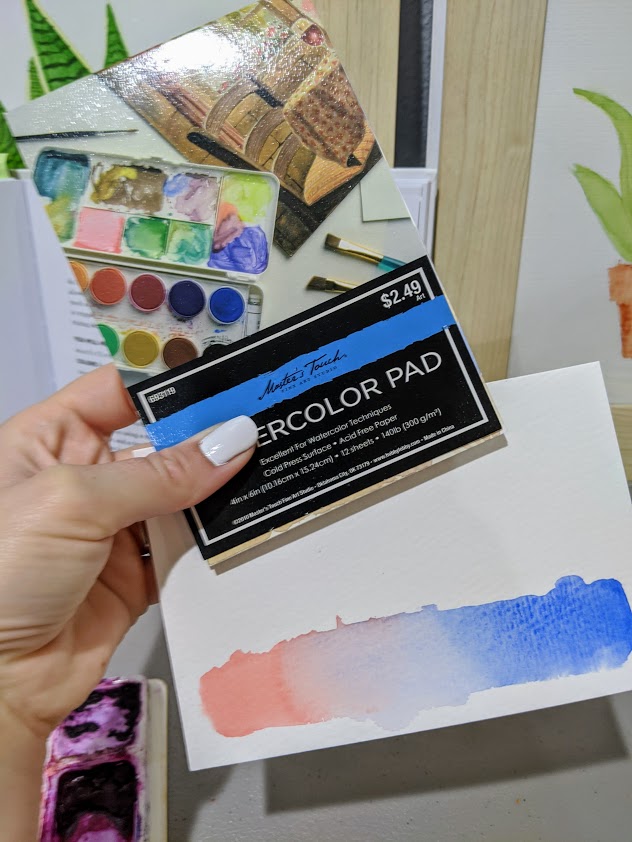
Fluid Watercolor Paper, Cold Press, 140 lb
Fluid Watercolor Paper, Cold Press, 140 lb
This is a better quality paper that will be better for artwork that you want to last. It is acid-free, which helps preserve artwork, and good weight to prevent buckling, as long as there is not too much water and washes used.
This 140 lb paper did a good job holding the water on my wash. It is closer to a student grade paper, but seemed to take the paint and water well and acid-free so it will preserve your artwork better.
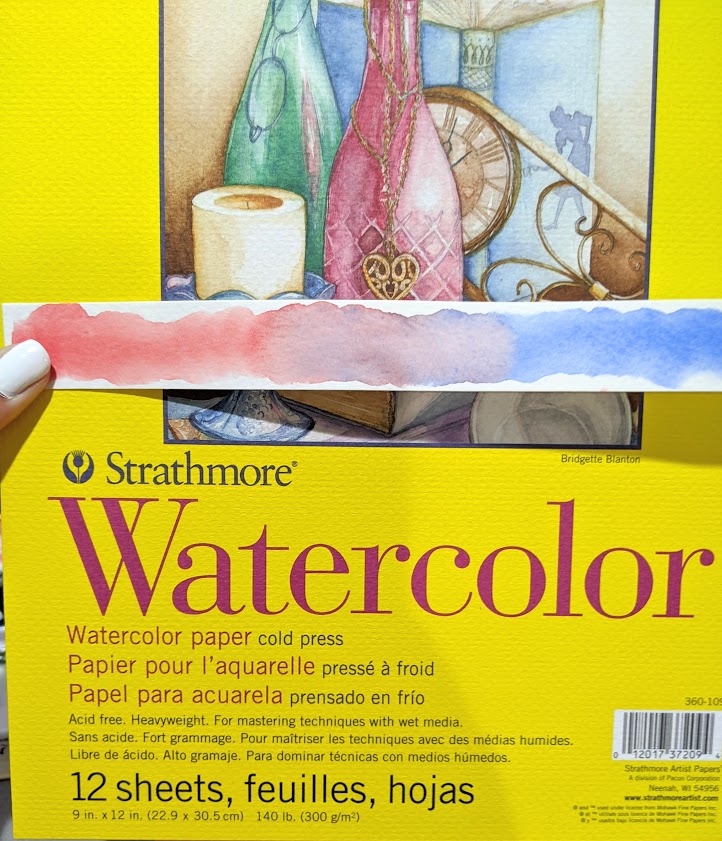
Strathmore 400 Series Cold Press Watercolor Paper, 140 lb
Strathmore, 400 Series, Acid-free, 140 lb
This is the best quality paper that I did in my study. This one is very easy to work with and it did not warp with my red and blue wash, when almost all the others did.
Conclusion
My favorite papers were the Fluid and Strathmore 400. All of these watercolor papers work well for practice and beginners and most of them can be found at Hobby Lobby. If you are doing heavy washes and want your artwork to last, I would suggest an acid-free, more artist grade paper like the Strathmore 400 series, and the other higher quality 140 lb papers would also do well.
Hi, I’m Heather.I‘m a mother, painter, student, and creative.
I love to do anything in the arts and I believe there is power in art. Right after I got married 8 years ago, I got a watercolor lesson with my grandmother-in-law. She was awesome!! She helped me make a completed painting, then she loaded me up with old paint tubes, some paper, a paintbrush (which ended up being my favorite for years), and a palette that I still use. She totally set me up! It made it so easy to keep painting. I still ask for her advice whenever I can; she’s so smart.
My creative yearnings didn’t stop there. I started an etsy shop, two years ago I started a master’s program in art education, last year I taught some art classes, then I did something different and something I wanted to do forever-I acted in some musicals! I’m not joking when I said I love anything creative.
Paintings for my sister’s house.This is a painting for one of visual literacy and visual culture class. My masters has changed my view of art and what we can learn through it.
I have enjoyed these adventures so much. During these adventures I have been honing my watercolor skills and…having three kids. My family is my primary focus and I love giggling with my cute kiddos, and my cute husband.
I have so many ideas for teaching art and love making things for the people in my life. I want to create something for you! It brings me so much joy to make others happy with my art. Along the way I hope to be a creativity advocate and teach whoever is interested in watercolor and kids’ art activities.
You know you want to try watercolor, but you don’t know how? Here’s a start.
It will make it easier to get started if you made your supplies easy, inexpensive, and compact.
Easy
Inexpensive
Compact
Easy & Inexpensive
I started out with hand-me-down supplies that my husband’s grandmother graciously piled into my arms after one or two times of sitting down with her to learn how to watercolor. I was able to start so much faster, because I wasn’t agonizing over supplies and what to buy. Then as I keep painting, I could buy things that I knew were more exciting or practical for me and I didn’t have to buy it all at once, which is better for the budget. Also, the lists can be intimidating. If it’s easy, it’s easier to start. That’s why I suggest inexpensive supplies and getting just a couple things to start.
Book Credit: The Joy of Watercolor by Emma Block
Having said that, I’ve learned through a little trial and error which supplies are frustrating to work with. Sometimes the quality will help and will be less frustrating. What’s I’ve listed is what I find most important.
Supply List and Tips
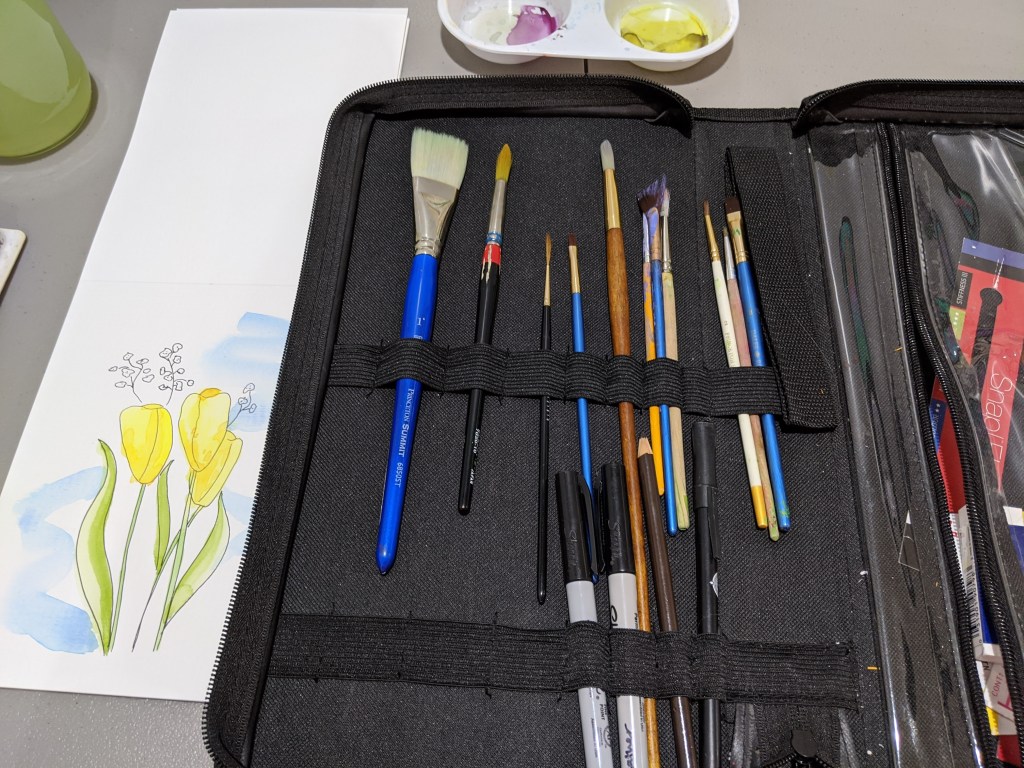
One or two brushes, depending on your interests. My most used brushes have been a medium sized round brush (Size 5, 6, or 8). Depending on your interests, you might also like a detail brush and a larger wash brush, like this.
A set of watercolor paint tubes. You can either get primary colors and mix, but if you’re not confident mixing, get a set of beginner watercolors from Hobby Lobby or online, or some like this. This one includes a pan where you can squirt a little bit of the tube paint out and mix hues (a little goes a long way!) or you can buy a palette and store the paints more permanently, like I have done for a long time. I am trying different brands and don’t have a preference on brand so far.
A watercolor palette. This one has plenty of wells to put tube paints in and let them dry and plenty of space to mix. When you want to paint you simply wet the dried paint and load up your brush! Anything will work, or you can just squeeze a little bit of paint out each time you want to paint until you know what you like.
An old jar for mixing. You can use an old jar, plastic cup, old yogurt container. Might as well re-use!
140# Cold press paper. It is much less frustrating when you have at least 140# paper. Look for 140# Cold press watercolor paper. The watercolor doesn’t soak into the paper too much and the result is satisfying. Sometimes 90# will work as well. I’ve tried this brand or the Canson brand at Hobby Lobby and found it to work well for practicing.
Masking tape to hold down the paper to prevent warping.
Working on painting a traced image.
Compact
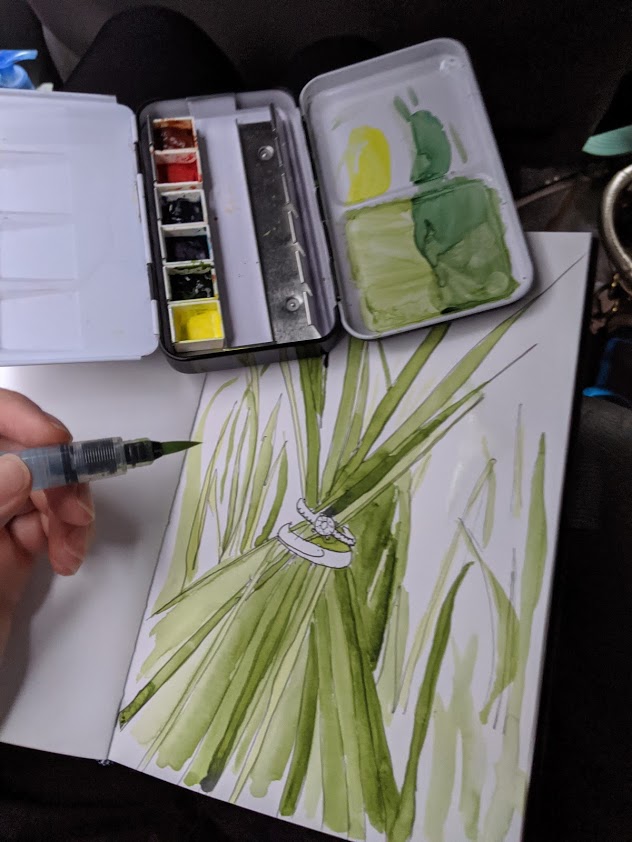
Now that you know what you will need, I suggest making the supplies compact and easy to store. It’s nice to be able to grab it out easily, especially if you’re just trying to snag a minute here and there, like I do during the day while I’m with my little ones. I have a case that holds brushes and pens, and I can easily slip some tubes of paint and masking tape in there, if I want to paint on the go. It’s also easier to store and move to wherever you are painting that day.
Another way to keep your supplies compact is getting a travel case for your paints and a water brush. Here is a travel case similar to mine. And these brushes are fun to try and are helpful if you want to be really compact.
Happy painting!! I hope this list was helpful and it will help you start painting, because it’s so fun!